R.E.P.O.
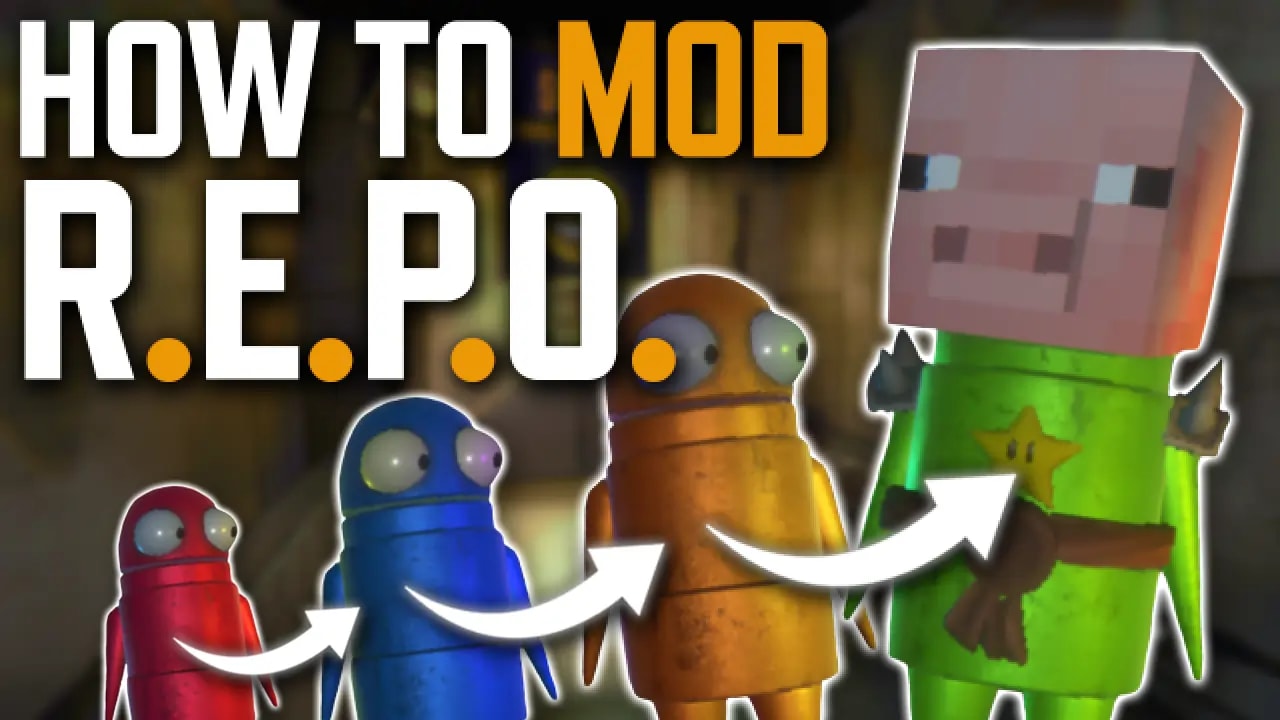
Thumbnail for a guide on how to mod R.E.P.O. (Retrieve, Extract & Profit Operation), featuring the text 'How to Mod R.E.P.O.' in bold white and yellow letters. The image shows three robot characters evolving in stages from red to blue, orange, and finally a green sheriff-like figure with a Minecraft-style pig head. White arrows indicate progression between each stage, suggesting a modding transformation.

How To Install Mods

Learn how to install R.E.P.O. mods effortlessly using Thunderstore Mod Manager! Our step-by-step guide walks you through selecting, installing, and sharing mods with friends—no manual setup required. Enhance your R.E.P.O. gameplay today!

April 1, 2025
Thumbnail for a guide on how to mod R.E.P.O. (Retrieve, Extract & Profit Operation), featuring the text 'How to Mod R.E.P.O.' in bold white and yellow letters. The image shows three robot characters evolving in stages from red to blue, orange, and finally a green sheriff-like figure with a Minecraft-style pig head. White arrows indicate progression between each stage, suggesting a modding transformation.

Why Mod R.E.P.O.?

R.E.P.O., short for Retrieve, Extract, & Profit Operation, is a physics-based horror co-op game that has quickly gained popularity for its unique blend of scavenging, teamwork, and survival mechanics. Despite its engaging gameplay, updates can be infrequent due to its development status. Luckily, the game offers robust modding support, allowing players to customize and enhance their experience. Here's how you can install mods and share them with friends for an even more thrilling adventure.

Note: Your friends must have the same Mods as you to play without issues (with some exceptions/client side mods). You can easily share mods with them using the Thunderstore Mod Manager.

Installing Mods With Thunderstore Mod Manager

Luckily, there's an easy-to-use software called Thunderstore Mod Manager that allows anyone, even those who are not tech-savvy, to install mods. With Thunderstore Mod Manager, all your friends can effortlessly enjoy modded gameplay.

Note: You must always run the game through Thunderstore Mod Manager to play with mods. Launching the game from Steam will only run the vanilla version.

Downloading And Installing Thunderstore Mod Manager

You can download Thunderstore Mod Manager here. Simply click on the "Get App" button to start the download.
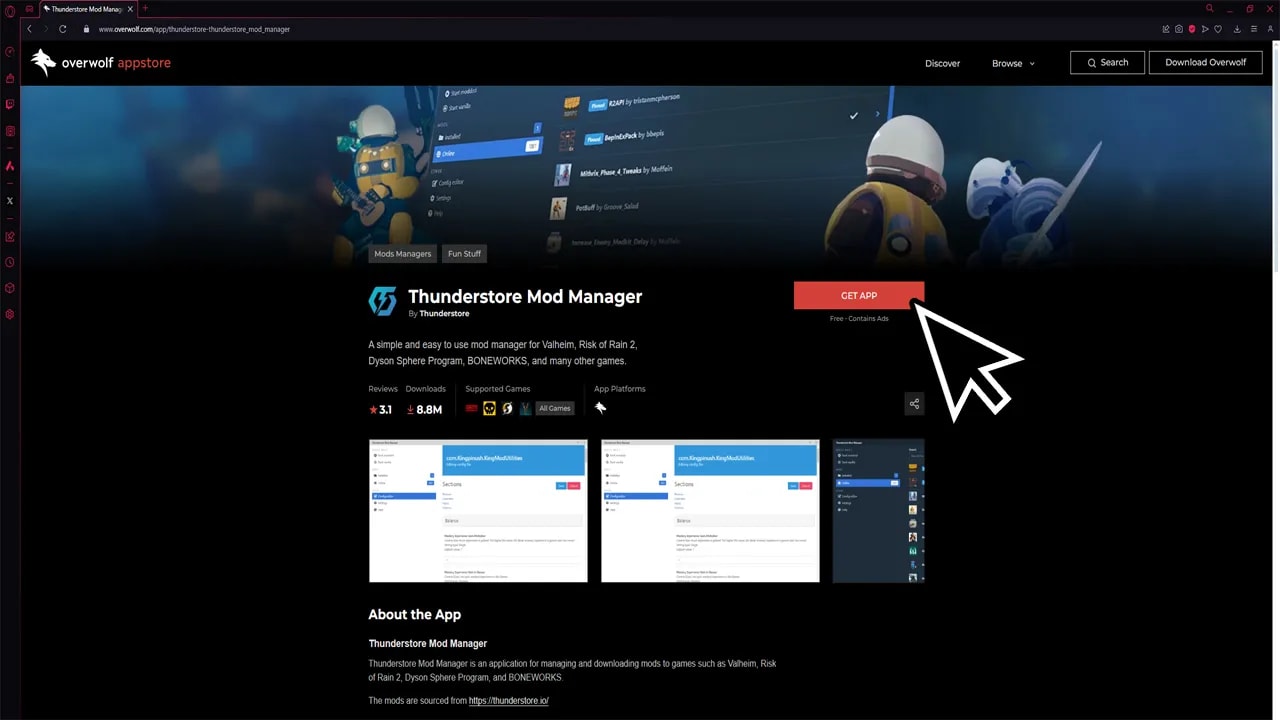
Screenshot of the Thunderstore Mod Manager page on the Overwolf app store, displaying its description and key features for managing mods in games like Valheim and Risk of Rain 2. The background shows animated characters in a game setting, emphasizing the gaming context of the app.
Downloading Thunderstore Mod Manager
Promotional banner for the Thunderstore App featuring the Thunderstore logo on the left and a 'Get App' button on the right. The text states 'Get the Thunderstore App - Easily install and manage your mods with the Thunderstore App!' on a blue background.
Alternative Download Pop-up

Once downloaded, run the installer file. Follow the setup process by clicking "Next." After a brief download and installation wait time, you will be greeted with the "Launch" button. You can also launch the Thunderstore Mod Manager from the taskbar.
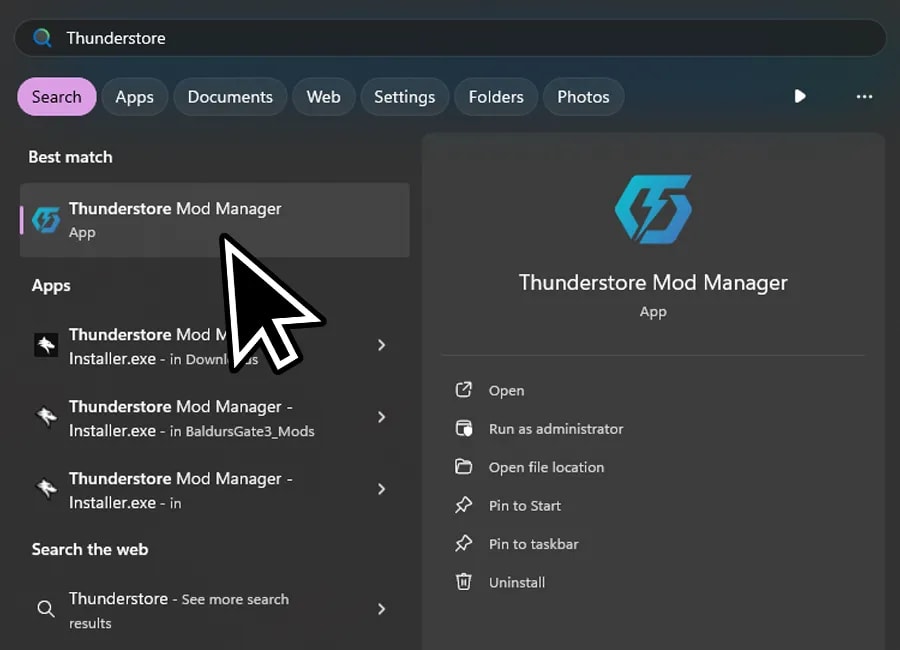
Search result interface showing 'Thunderstore Mod Manager' as the best match with its app icon and options such as Open, Run as administrator, Open file location, Pin to Start, Pin to taskbar, and Uninstall. The search is conducted within a modern operating system's interface with tabs for Apps, Documents, Web, Settings, Folders, and Photos at the top.
Opening Thunderstore Mod Manager

Setting Up Your Modded Profile

First, search for "R.E.P.O." on the game selection screen. Hover over it and click "Select Game." Next, you will see the "Profile Selection" screen. Create a new profile from which you will play modded Lethal Company. Once the profile is created, you will be directed to the "My Mods" page.
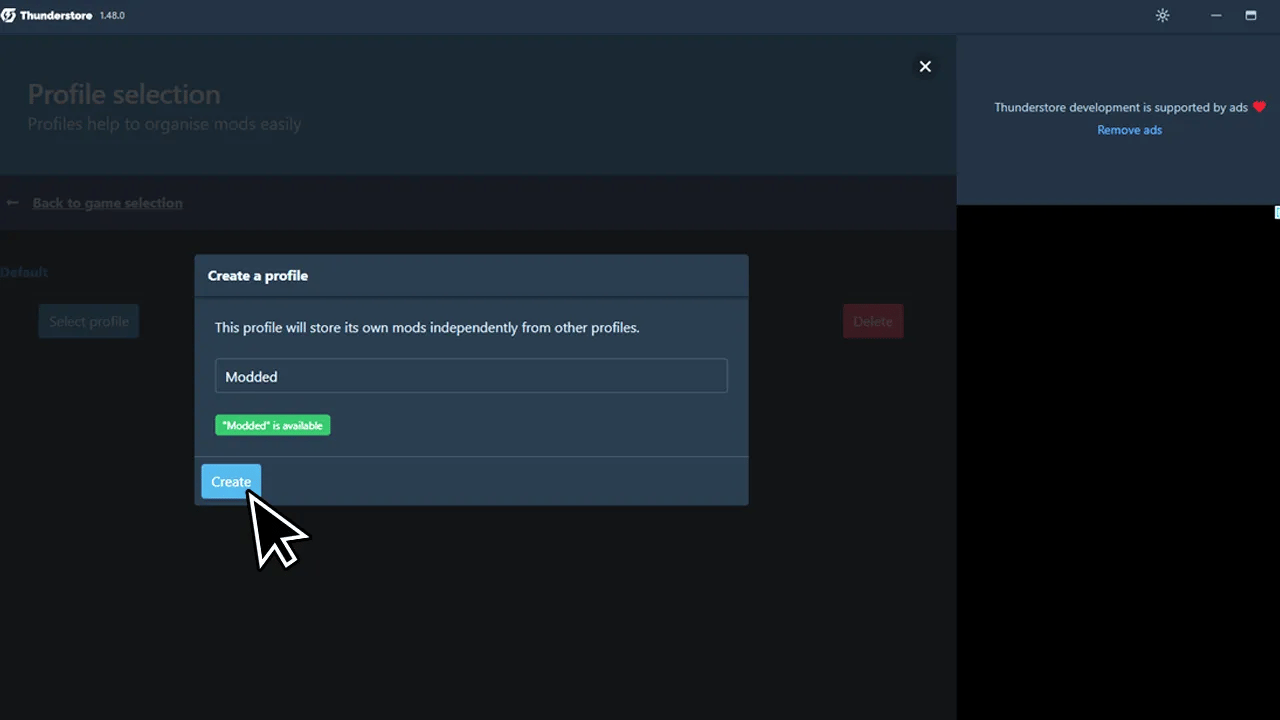
User interface of Thunderstore Mod Manager version 14.8.0, displaying the 'Profile selection' screen with options to create and manage mod profiles. The 'Create a profile' section is highlighted, where users can name and create a new mod profile labeled 'Modded', indicated as available. The interface also includes an option to delete profiles, with a notice that Thunderstore development is supported by ads, offering a 'Remove ads' option.
Creating a Modded Profile

Note: Later in this guide, we will cover how to easily import the same settings from your friend. This can also be done on the "Profile Selection" screen.

Installing Mods

Finding Popular Mods

To start installing mods, click on the "Get Mods" button. Sort by "Download Count" or "Rating" to find the most popular mods. You can also find popular mods here.
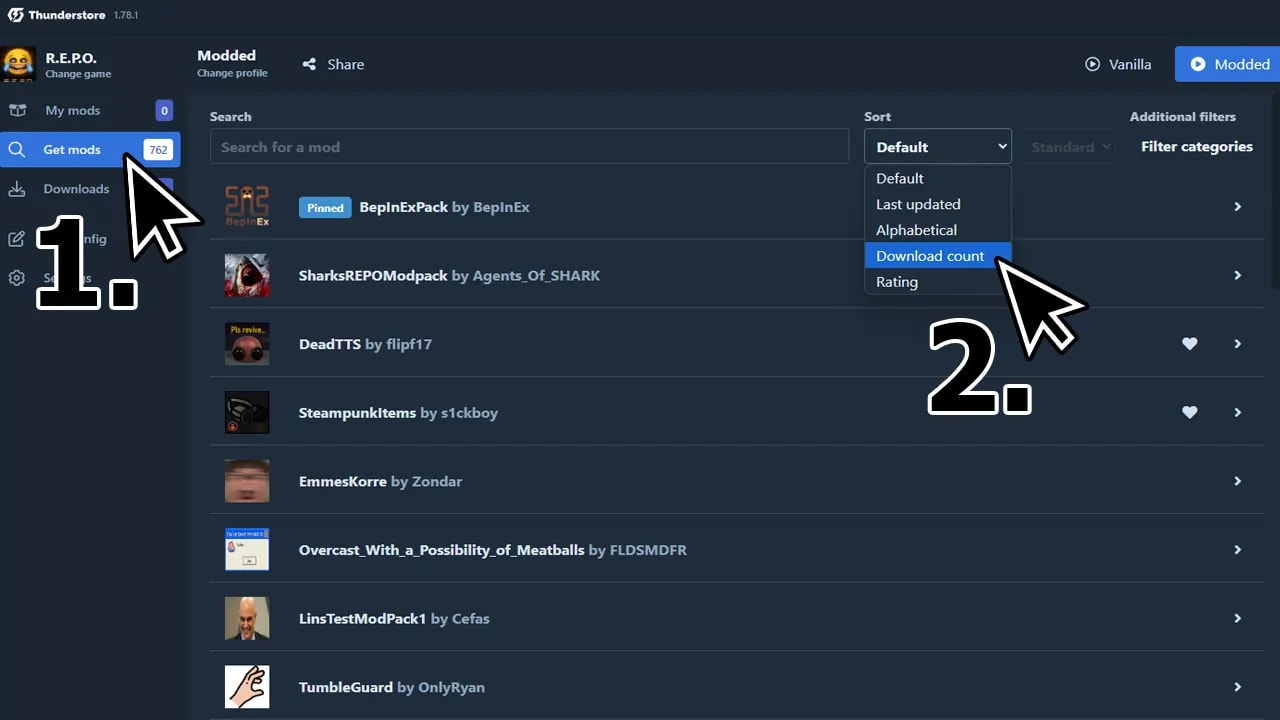
A screenshot of the Thunderstore mod manager interface shows a user navigating the mod search and sorting options. A large cursor icon points to the "Get mods" button on the left sidebar, labeled "1." Another large cursor icon, labeled "2," highlights the sorting dropdown menu, with "Download count" selected. The interface displays various mods, including "BepInExPack," "SharksREPOModpack," and "DeadTTS," with small icons and usernames of their creators.
Finding Popular Mods

Prerequisites and Installing Mods

Although Thunderstore Mod Manager will always download the required prerequisites to run certain Mods, make sure that BepInExPack is installed. BepInExPack is the backbone of R.E.P.O. Modding.

To install a Mod, click on it, then click "Download." Select the latest version and click "Download with Dependencies." The installation process for other mods is the same.
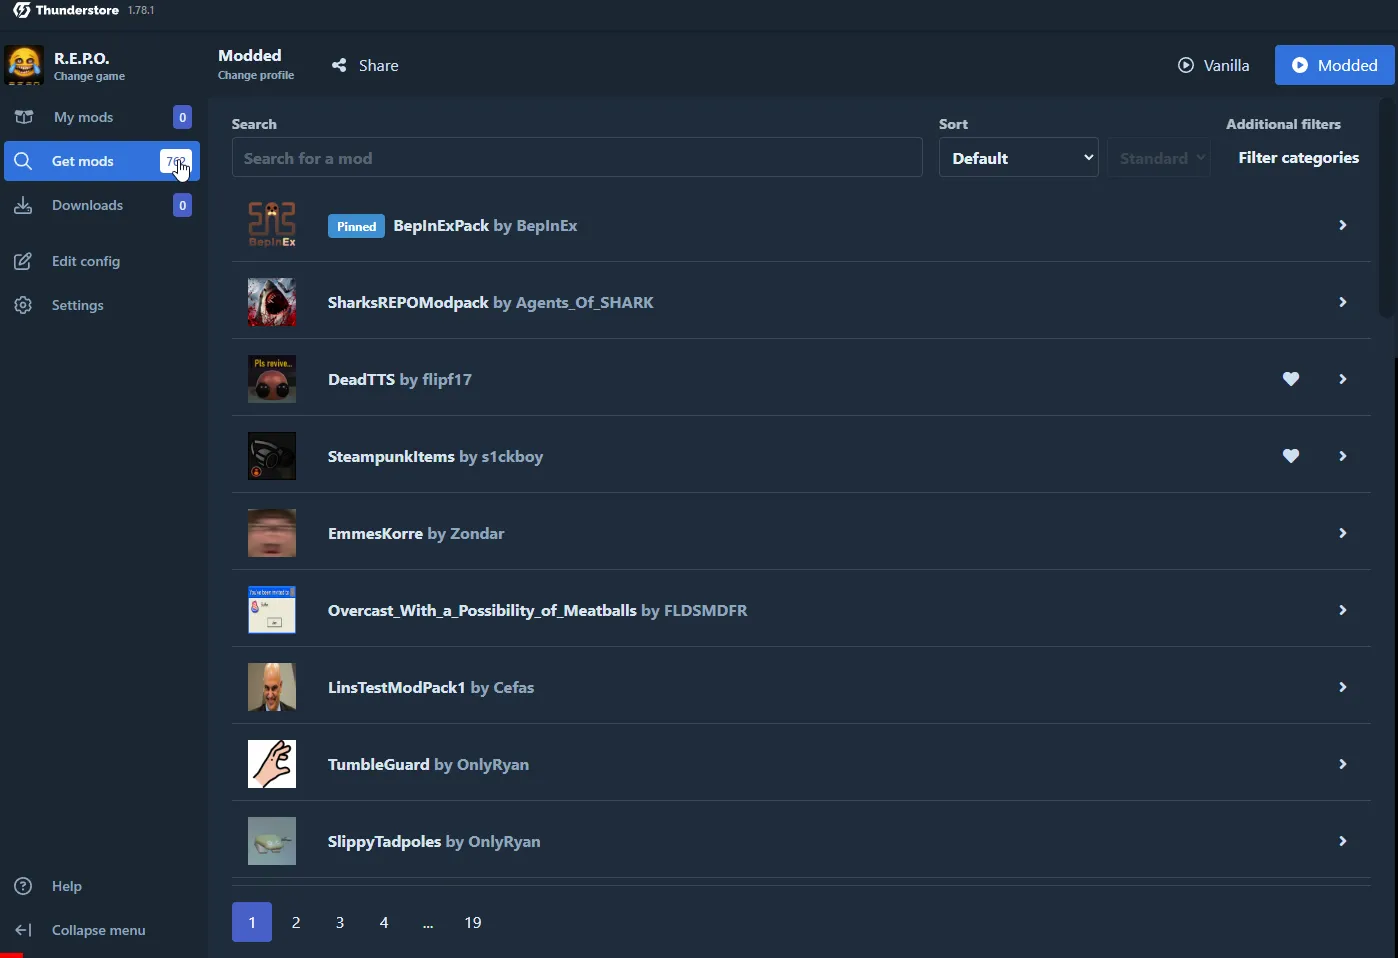
A screenshot of the Thunderstore mod manager interface displays the mod browsing section. The top result is "BepInExPack" by BepInEx, with a description stating it is a preconfigured pack for Mono Unity games. The interface shows download and website buttons, along with a download count of over 17 million and 712 likes. Below, a list of other mods, including "SharksREPOModpack" and "DeadTTS," is visible. The bottom navigation bar shows multiple pages, with page "1" currently selected.
Installing BepInExPack

Managing Mods

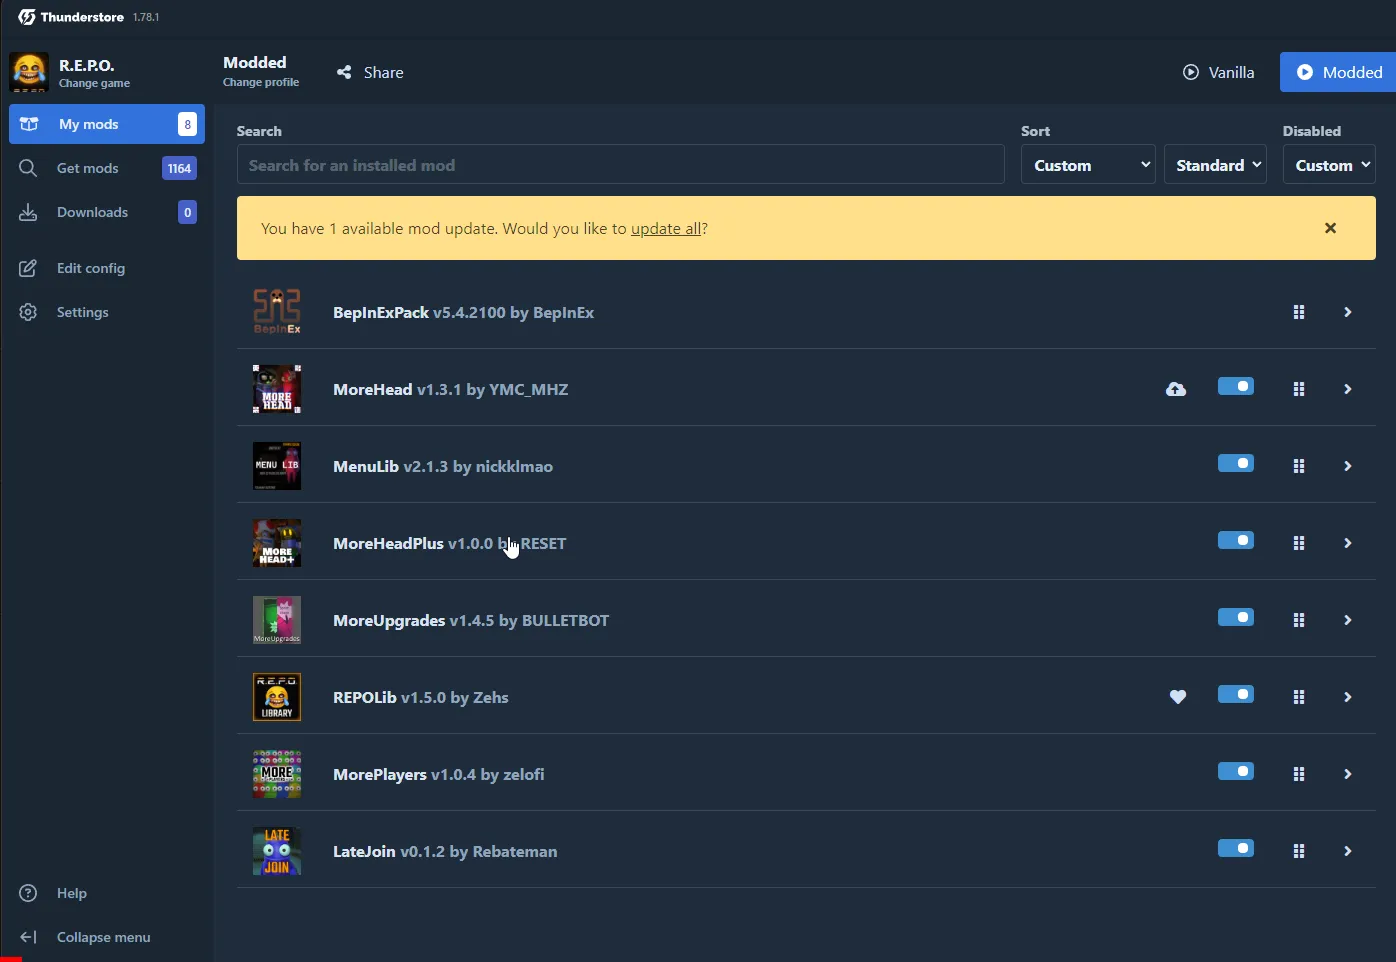
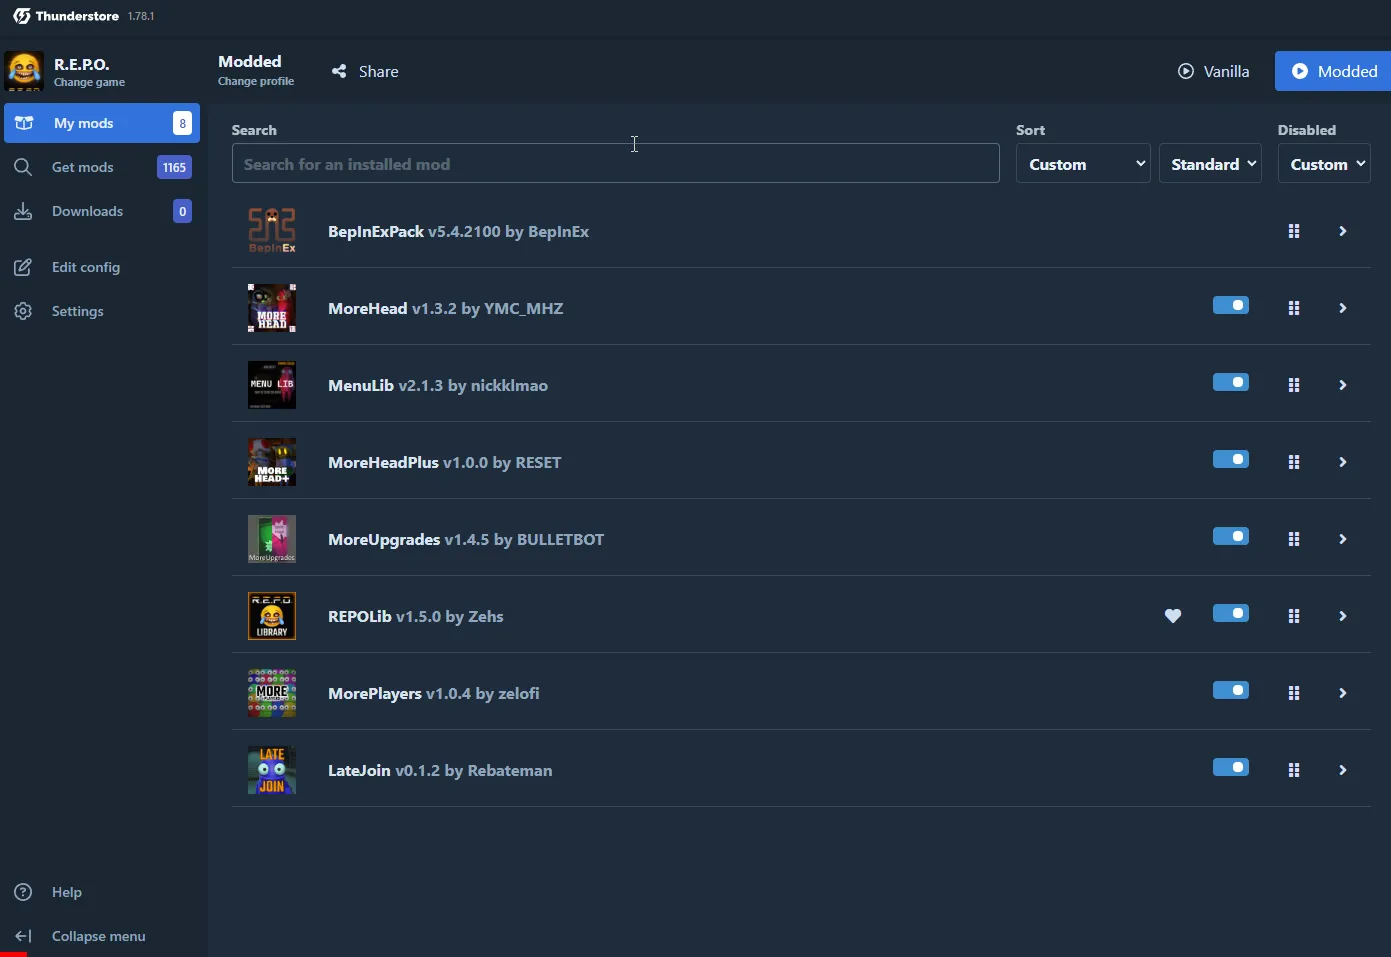
You can now manage your mods under the "My Mods" tab. You can disable them with a toggle switch, and if you click on a certain mod to expand its options, you can also uninstall it.

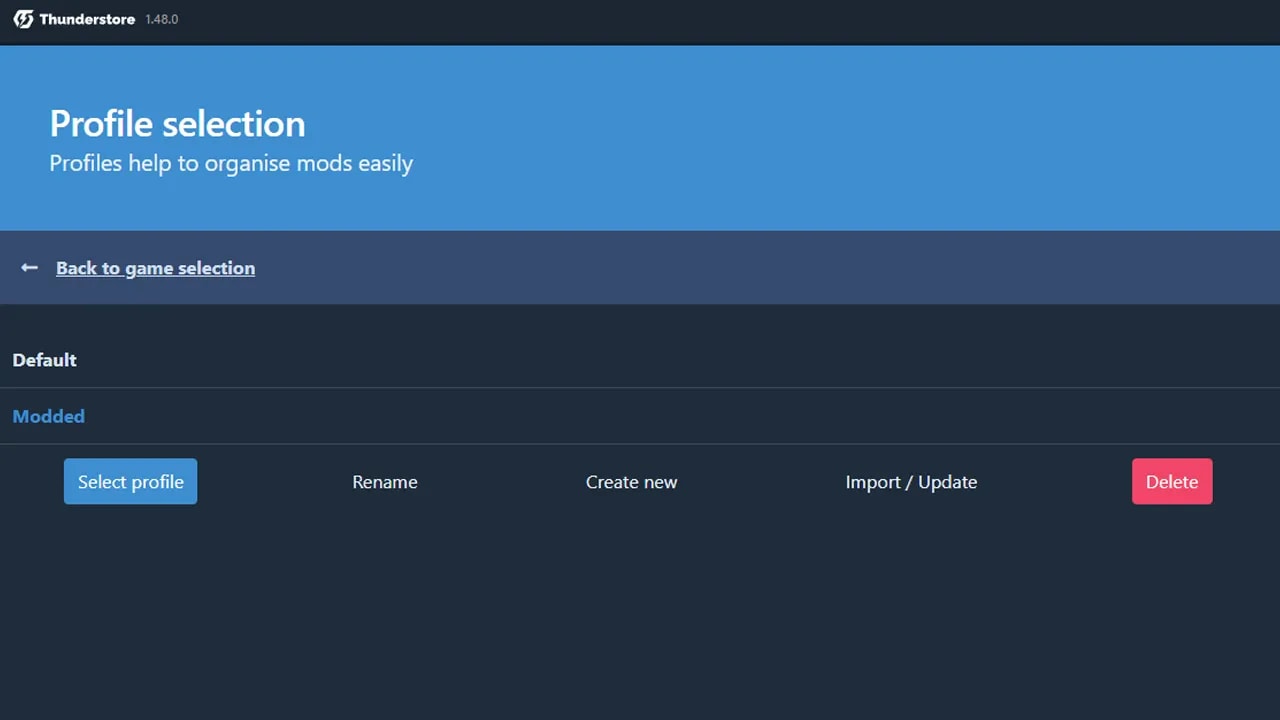
Remember, you can always switch profiles to have different sets of mods. This allows you to easily manage and switch between various mod configurations.
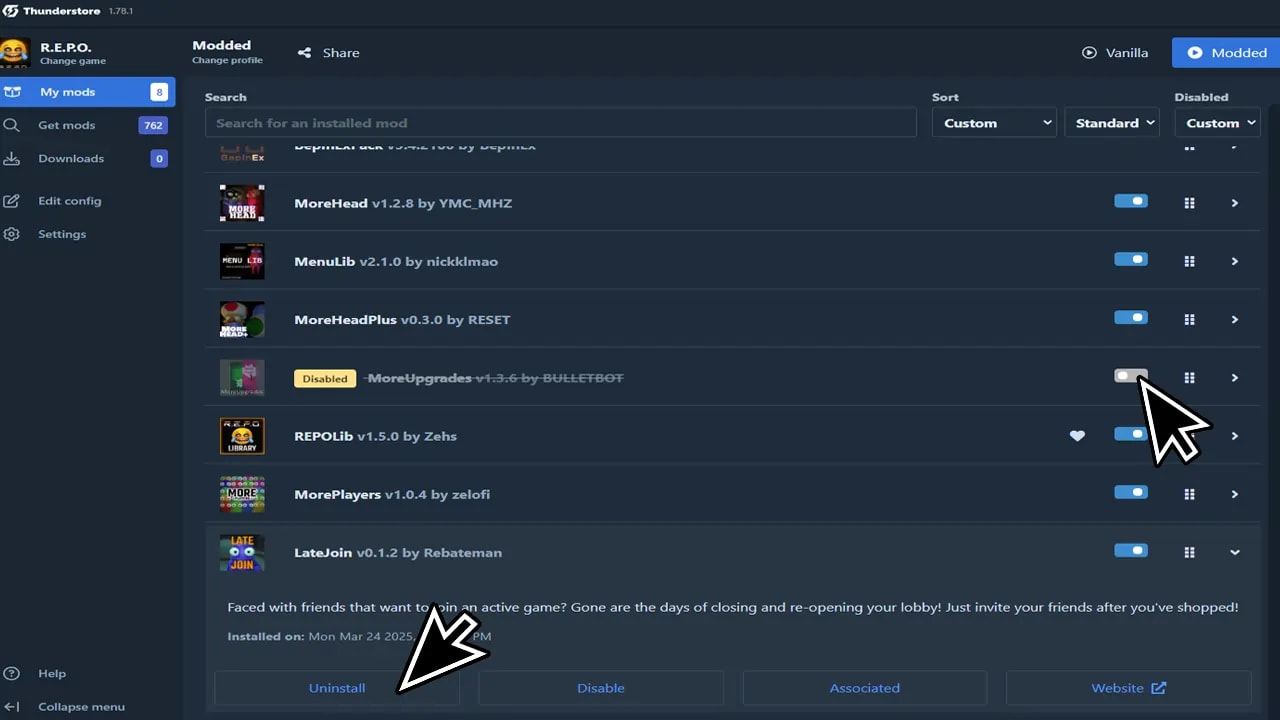
A screenshot of the Thunderstore mod manager interface shows the "My mods" section, listing installed mods. The list includes "MoreHead," "MenuLib," "MoreHeadPlus," and "LateJoin," among others. A large cursor points to a toggle switch for one of the mods, which is currently disabled. Another large cursor points to the "Uninstall" button at the bottom of the screen. The interface also displays sorting options, a search bar, and mod details such as version numbers and authors.
Managing Mods
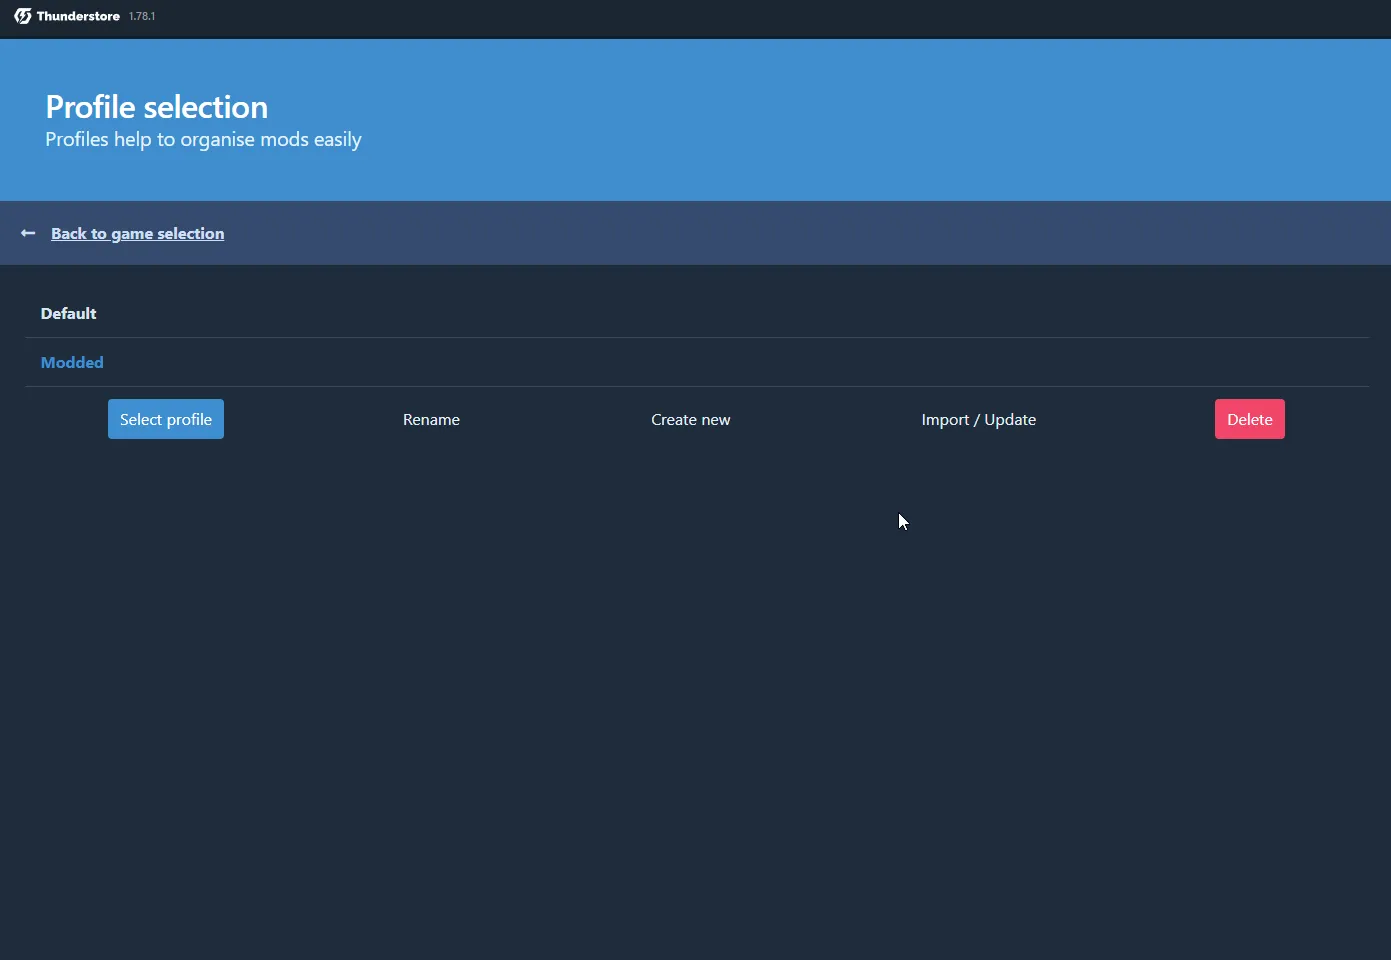
The Profile Selection screen of the Thunderstore Mod Manager version 14.8.0, designed to help organize mods efficiently. It displays two mod profiles: 'Default' and 'Modded', with options to 'Select profile', 'Rename', 'Create new', 'Import/Update', and 'Delete' for the selected 'Modded' profile. The screen is set against a dark theme with a bold blue header stating 'Profile selection' and a subheading emphasizing the ease of organizing mods.
Mods Profile Selection

Launching Modded R.E.P.O.

To run modded R.E.P.O., simply click on the "Play Modded" button in the top right corner. When launching modded Lethal Company, a command prompt will appear, showing the process of loading mods. Don't be alarmed by this; it's normal.
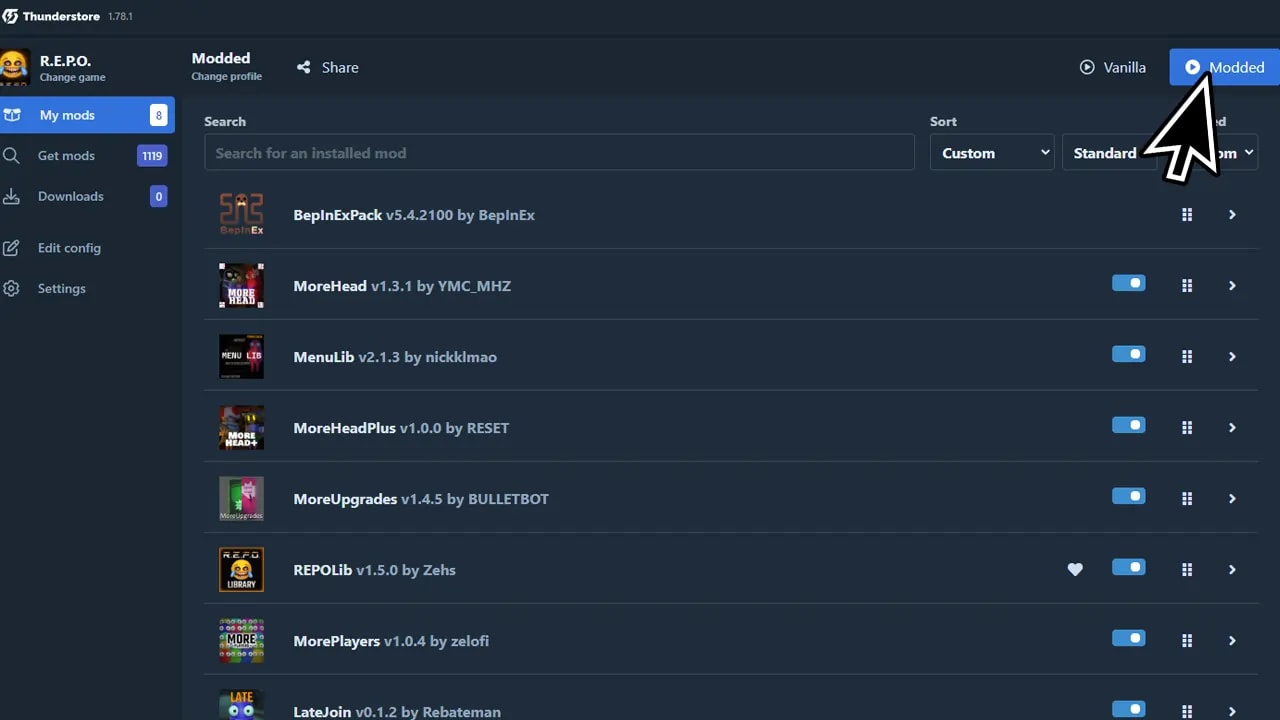
Screenshot of the Thunderstore Mod Manager interface showing the "Modded" profile for a game named "R.E.P.O." The left sidebar includes options such as "My mods," "Get mods," "Downloads," "Edit config," and "Settings." The main section lists installed mods, including BepInExPack, MoreHead, MenuLib, MoreHeadPlus, MoreUpgrades, REPOLib, MorePlayers, and LateJoin. Each mod displays its name, version, author, and toggle switches to enable or disable them. The top-right corner has a profile selection toggle between "Vanilla" and "Modded," with "Modded" currently selected.
Launch Modded R.E.P.O.

Usually, you will notice that the main menu of the game indicates that mods have been installed. This isn't true for all mods, but if you installed "MoreHeads," for example, you'll see that mods are working right away in the pause menu of the game.
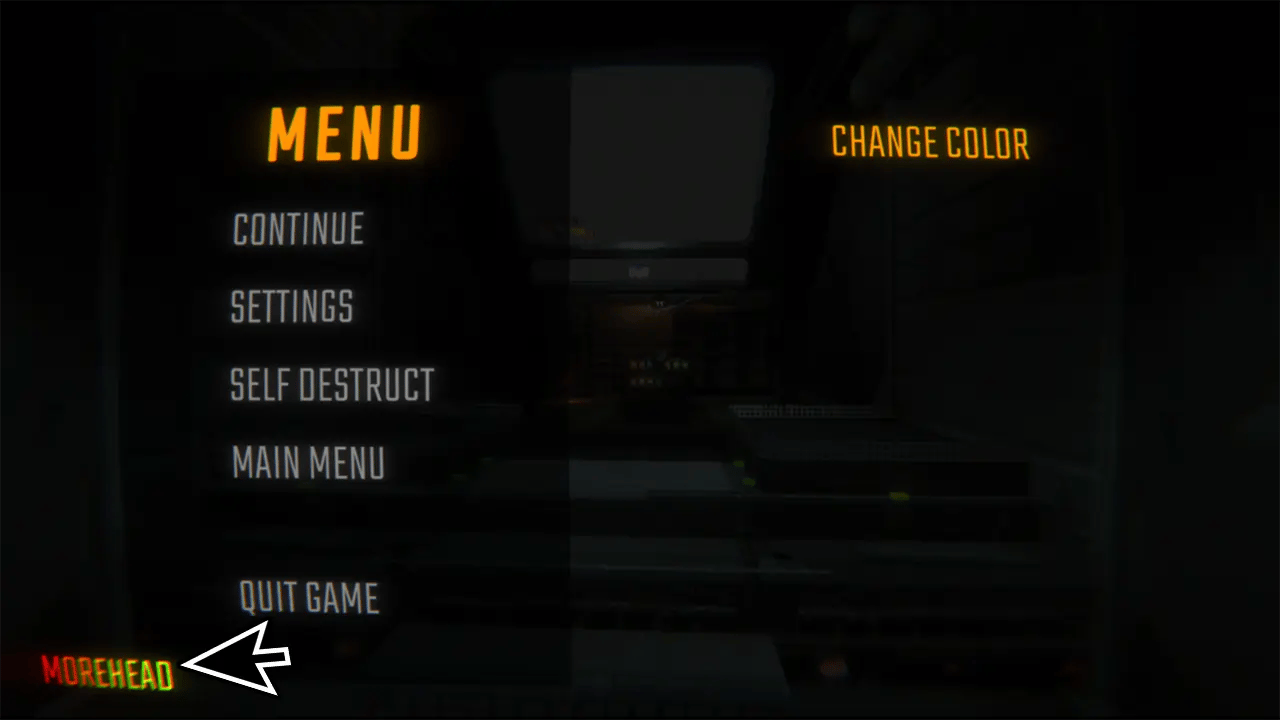
Screenshot of a game menu modified by the "MoreHead" mod. The menu options are displayed in white text on a dark background and include "Continue," "Settings," "Self Destruct," "Main Menu," and "Quit Game." The title "MENU" appears in bold yellow at the top center, alongside the option "Change Color" on the right. At the bottom-left corner, the text "MOREHEAD" is visible in red and green with a large cursor pointing to it.
Working Mods

Editing Mods Config

Most mods can be edited to some extent, allowing you to change keybinds, durations, and other elements. To access the configuration settings for Lethal Company mods, make sure to run the game once with the newly installed mods before editing the config.
Screenshot of the Thunderstore Mod Manager interface with the "Edit config" section open for the game "R.E.P.O." The top-left corner displays the game name and profile, with "Modded" selected. The interface shows a blue banner titled "Config editor" with a description below in yellow stating, "Configuration files are generated after launching the game, with the mod installed, at least once." Below the banner is a search bar labeled "Search for config files," followed by a list of configuration files, including BepInEx.cfg, bulletbot.moreupgrades.cfg, ImprovedStamina.cfg, REPOLib.cfg, Tidaleus.MoreReviveHP.cfg, zelofi.MorePlayers.cfg, and Zehs-REPOLib/LICENSE.txt. Each file is listed with its directory path and a right arrow for further options. A cursor points to the "Edit config" option in the left sidebar.
Editing Mod Settings

Sharing Mods and Mod Settings With Your Friends

Since you and your friends need to have the same mods, manually sharing and downloading them can be quite annoying, especially if some of your friends aren't as proficient in modding. Luckily, Thunderstore Mod Manager has you covered. Simply click "Share" at the top and share the code with your friends. In the Profile Selection screen, they can import this code to get all the same mods and edited config files as you.
Screenshot of the Thunderstore Mod Manager interface with a pop-up window titled "Profile exported" in the center. The message in the pop-up reads: "Your code: 0195f13a-c656-20a6-f482-ea104bfee6c1 has been copied to your clipboard. Just give it to a friend!" Below the message is a blue button labeled "Done." The background shows the mod manager interface for the game "R.E.P.O." with the "Modded" profile selected. The left sidebar includes options such as "My mods," "Get mods," "Downloads," "Edit config," and "Settings." Installed mods are partially visible in the main section, including BepInExPack, MoreHead, MenuLib, and others.
Acquiring The Sharing Code
Screenshot of the Thunderstore Mod Manager interface showing a pop-up window titled "How are you importing a profile?" The window offers two options: "From file" and "From code," displayed as blue buttons. A cursor is hovering over the "From file" button, indicating selection. The background is dimmed, with the "Profile selection" section visible, including profiles labeled "Default" and "Modded." Other options like "Rename," "Create new," "Import/Update," and "Delete" are partially visible in the background.
Importing Mods

Check out the YouTube video covering this guide

R.E.P.O. playlist

Subscribe to our YouTube channel

Want to find even more of our content? By subscribing to our YouTube channel, you can make sure to get access to our newest guides.

SUBSCRIBE
info icon
URL copied to clipboard!